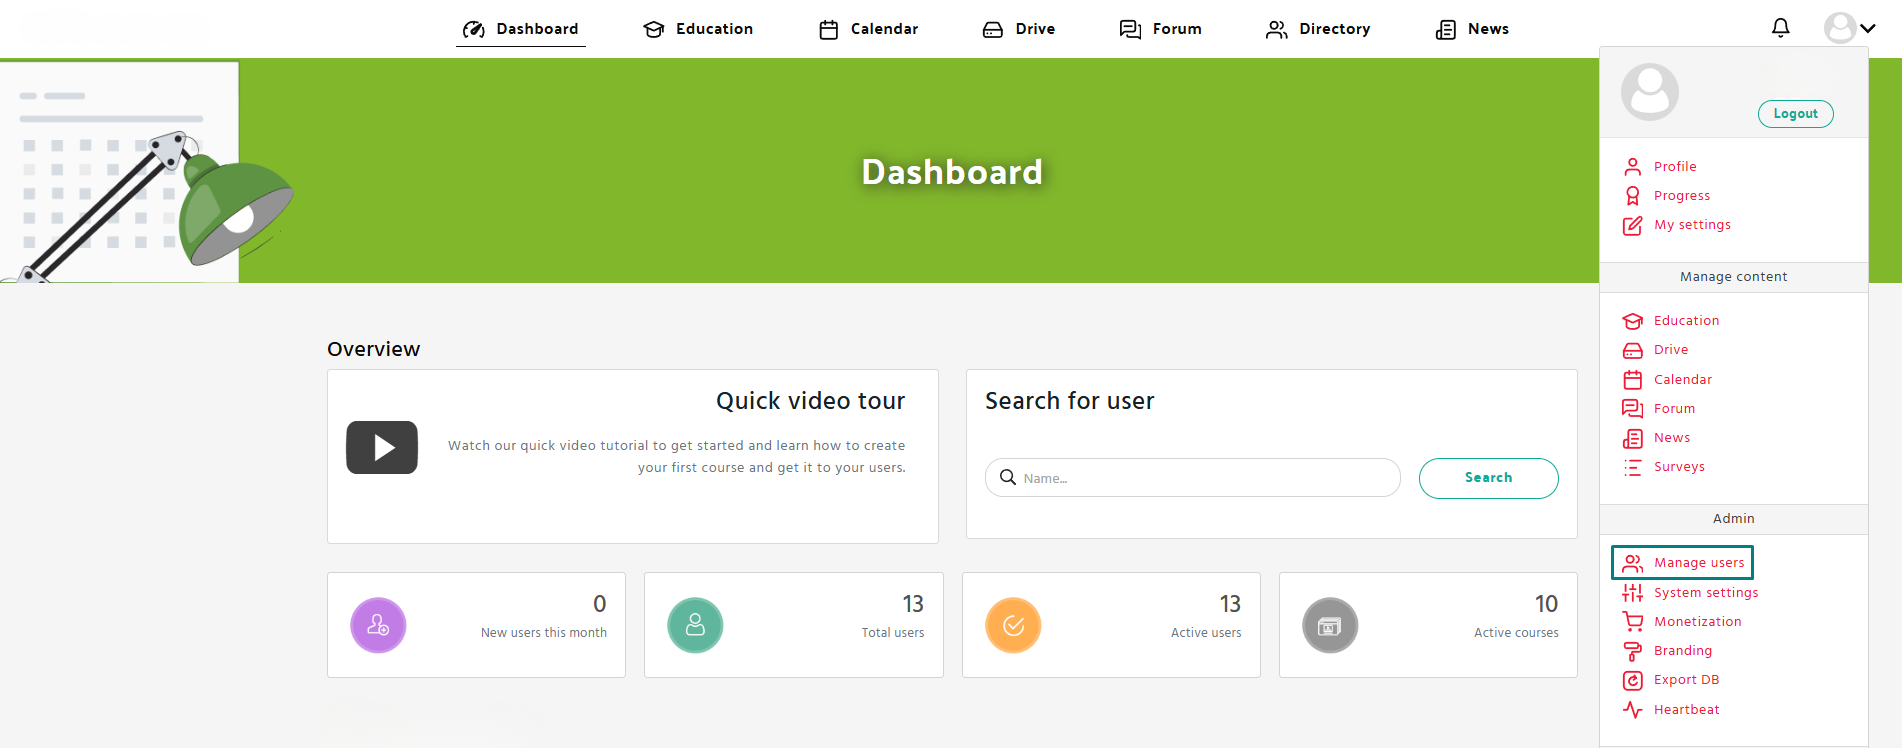
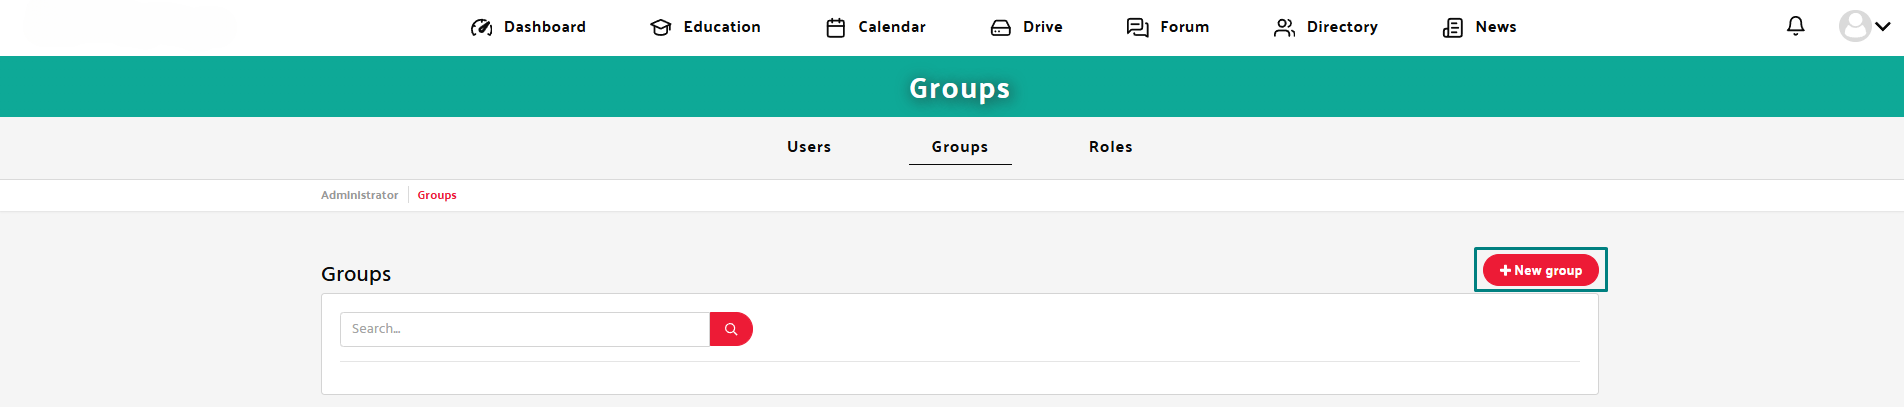
Step 1: Open the Manage users section
- Navigate to the Manage users tab in the Admin panel.
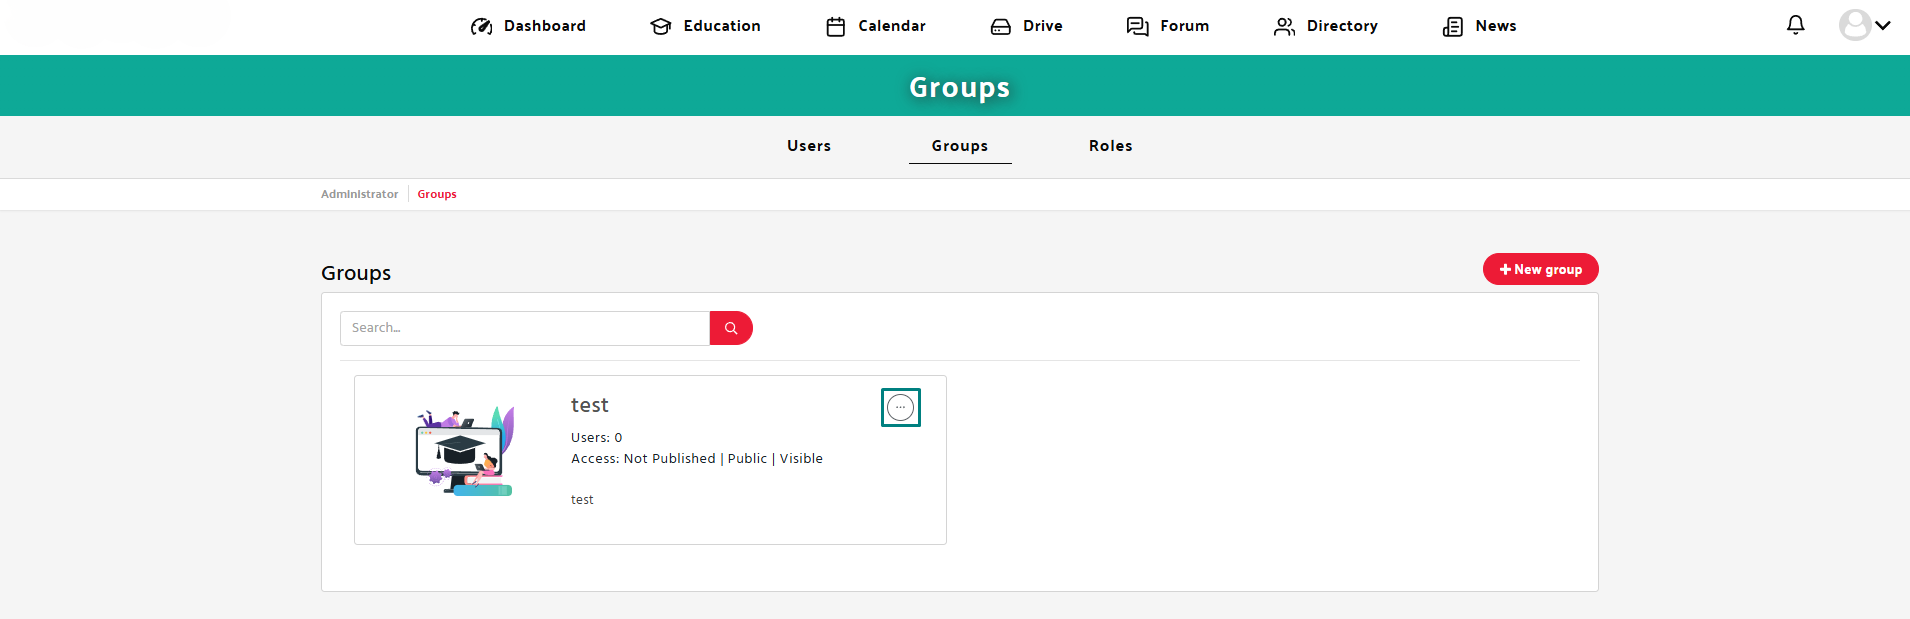
- Click on the “Groups” tab in the Admin menu.

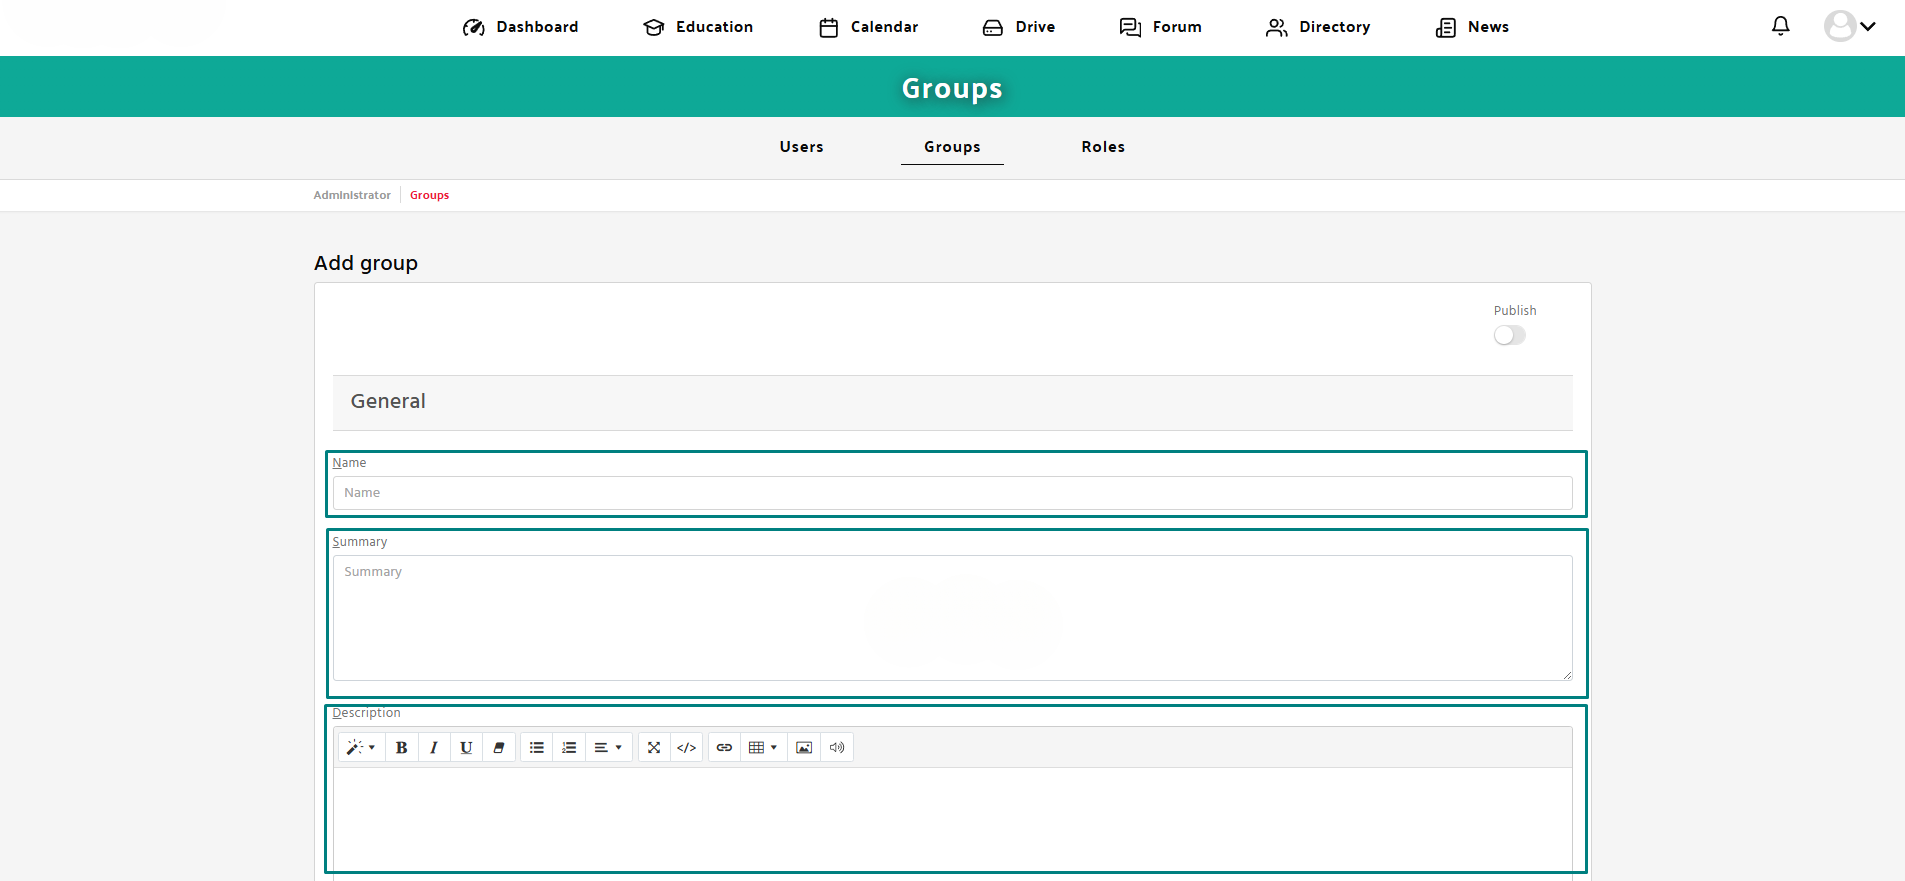
Step 2: Add group
- Click the red “New group” button.
- Enter the name of the group.
- Add a brief description for the group.
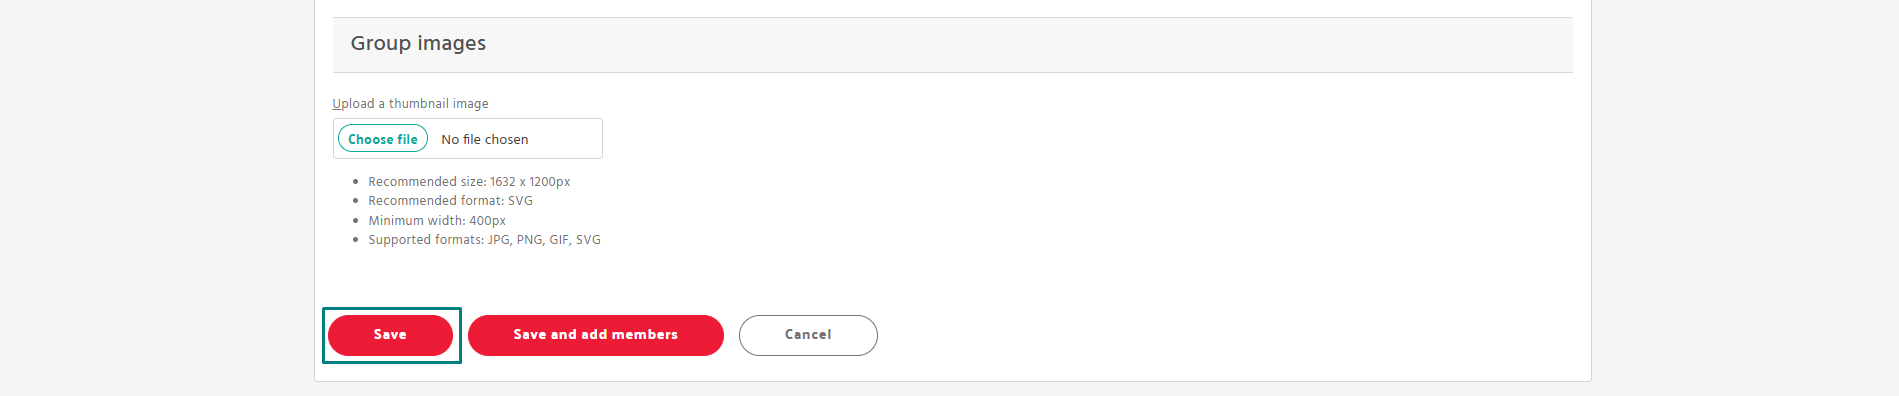
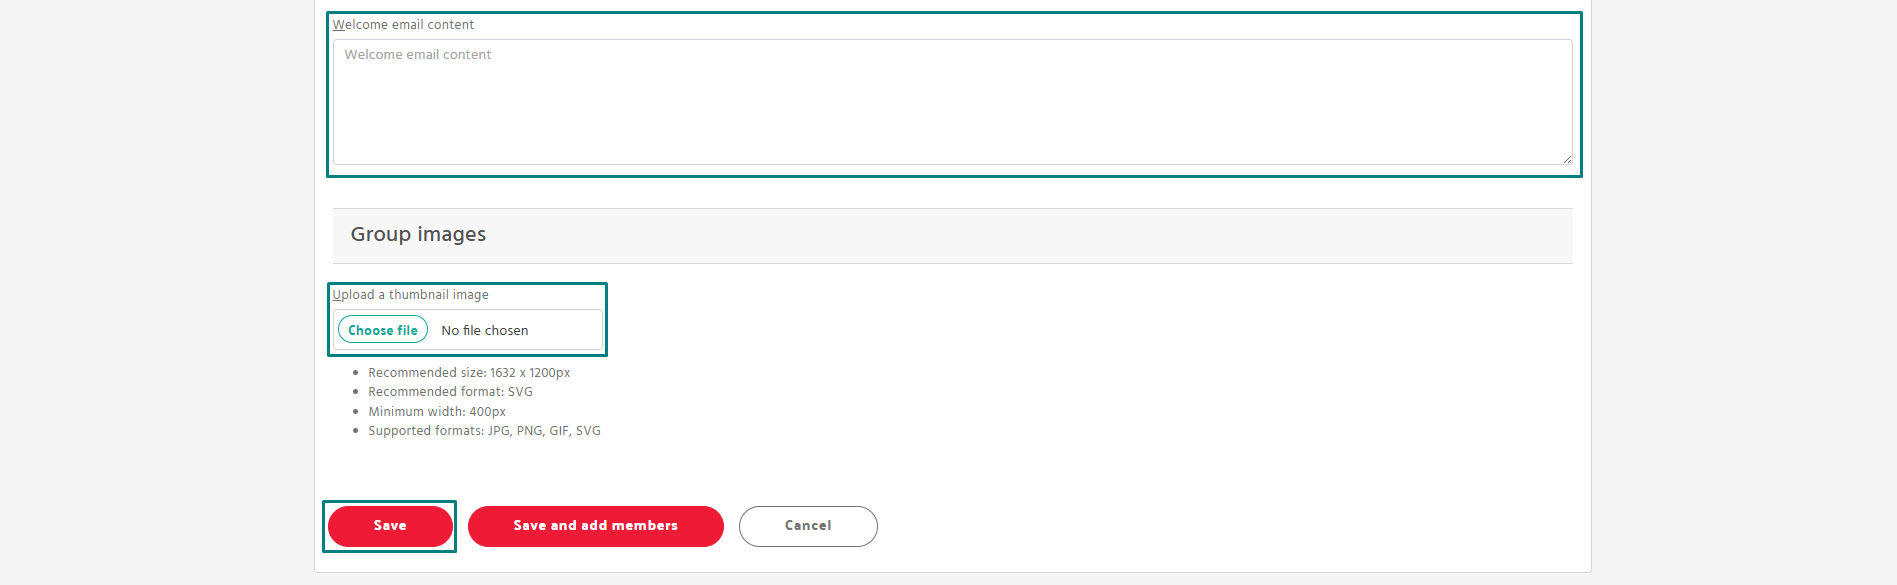
- Upload a thumbnail (recommended size: 1632 x 1200px, format: SVG, GIF, JPG or PNG).
- Add Welcome Email Content.
- Use the toggle at the top to Publish.
- Click Save to finish creating the group.
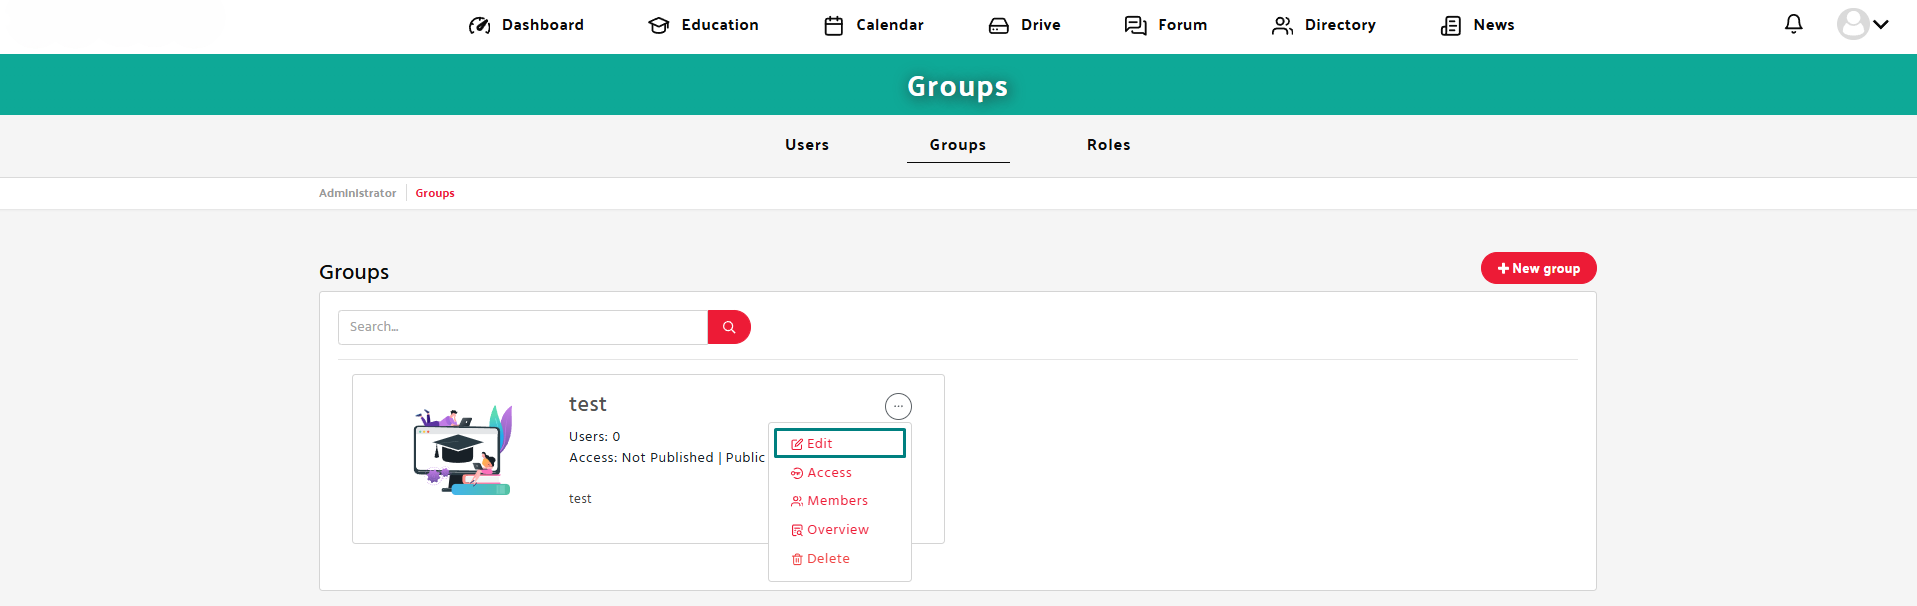
Step 3: Change a Group