Step 1: Open the Drive Section
- Navigate to the Drive tab in the Manage content panel.
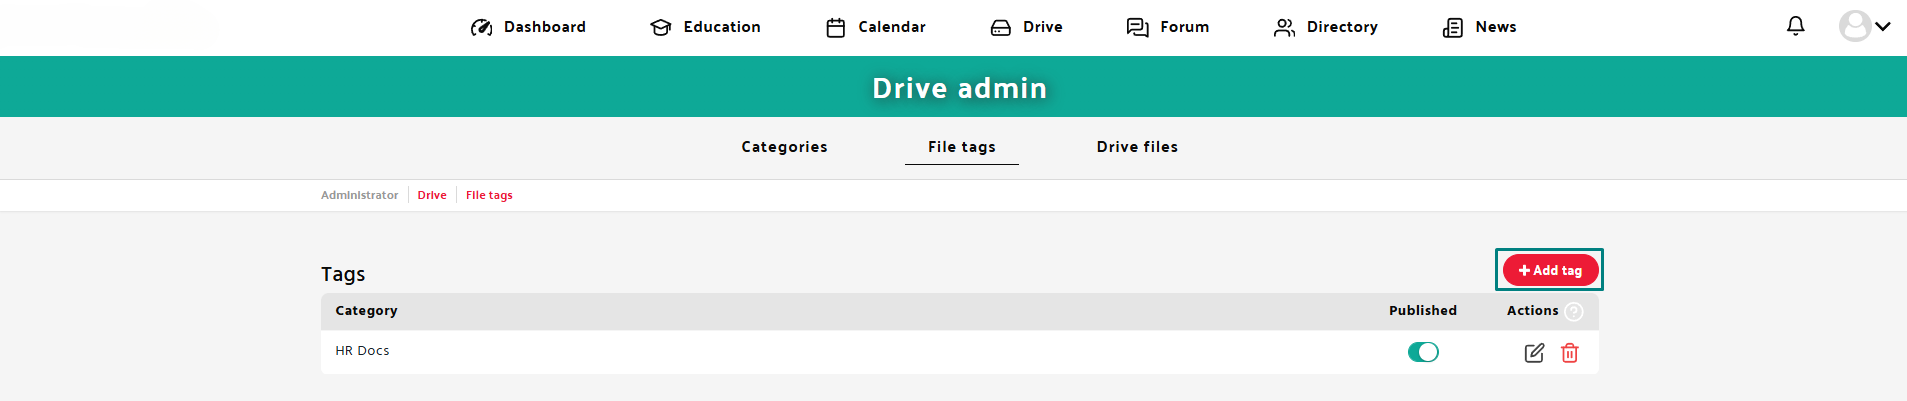
- Click on “File tags” tab.


Step 2: Add tags
- Click the red “Add tag” button located on the right.
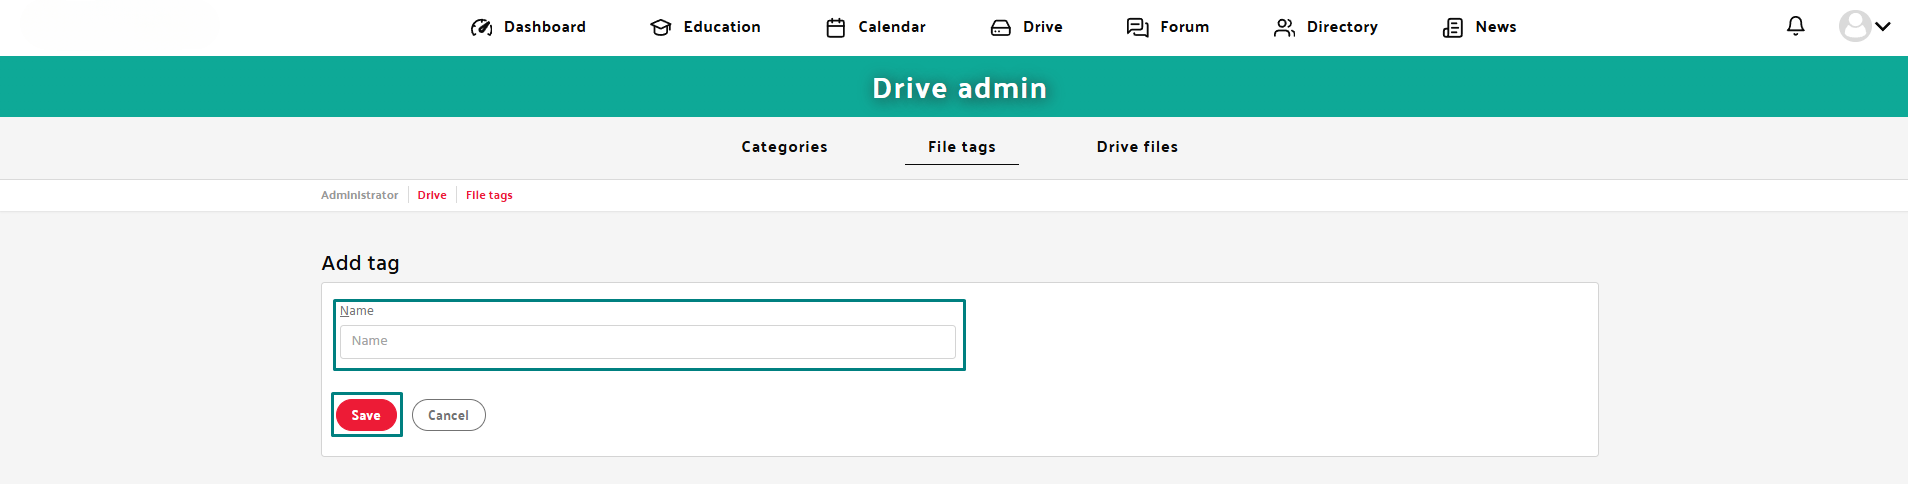
- Fill in the tag name.
- Click the red Save button to confirm and add your new tag.
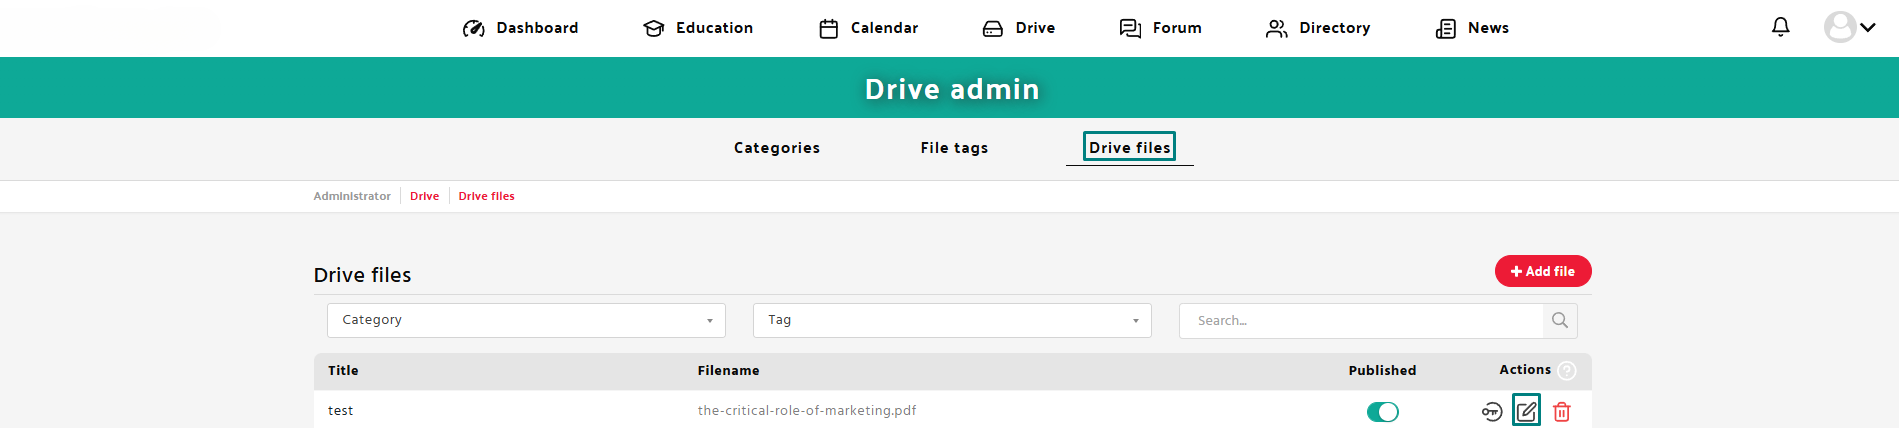
Step 3: Add tags to file and save
- Back to the Drive admin section and go to the “Drive files” tab.
- Click on the red “Add file” button.
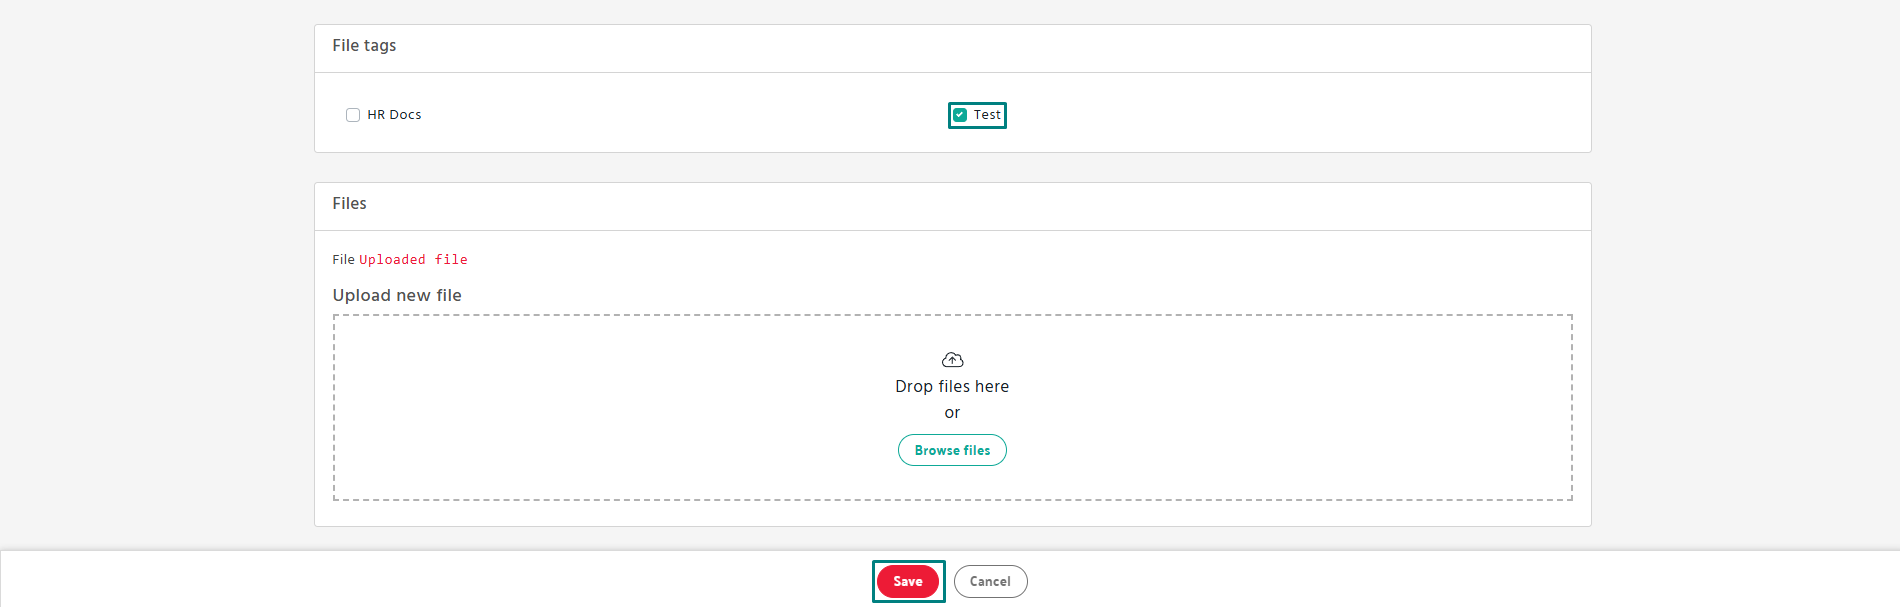
- Scroll down to the File tags section and select the appropriate File Tag.
- Click the red “Save” button at the bottom.