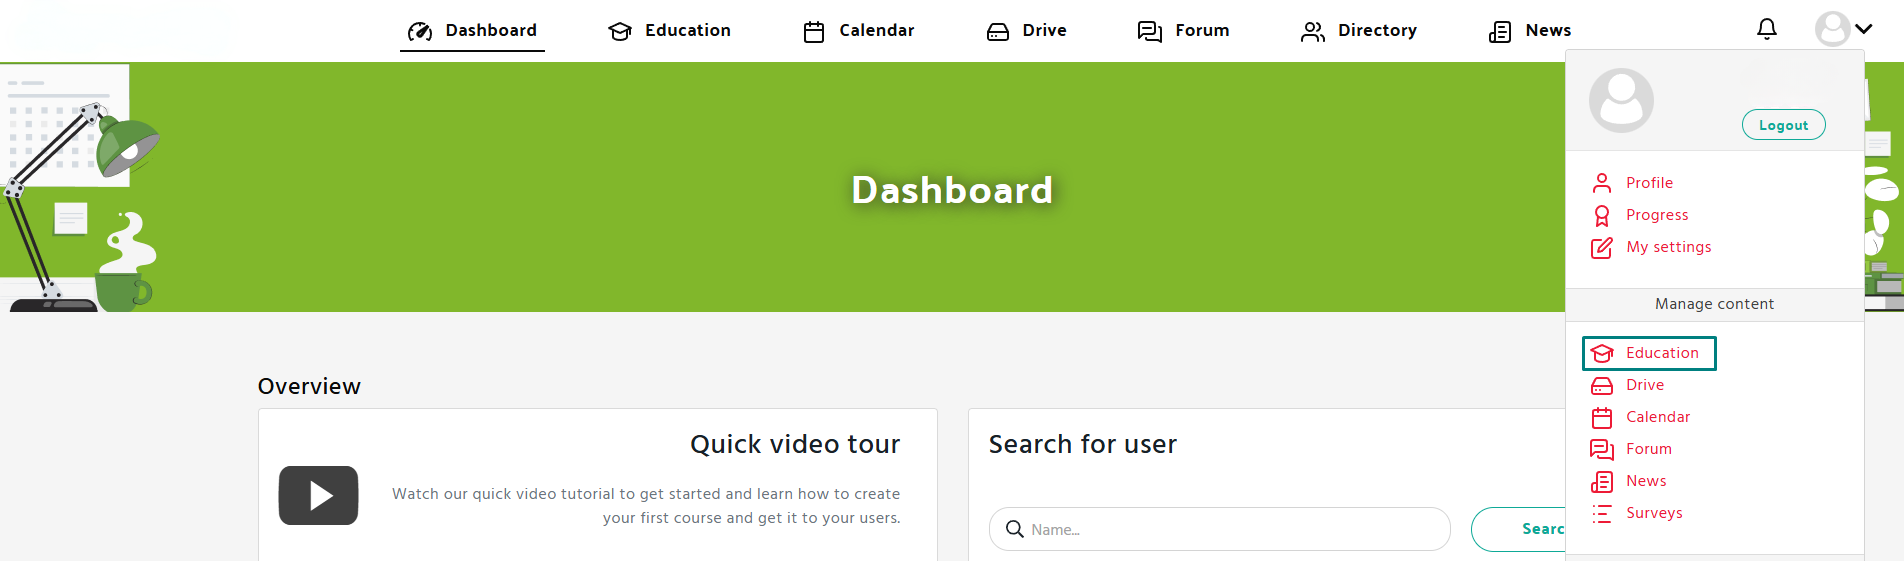
Step 1: Open the Education Section
- Navigate to the Education tab in the Manage content panel.
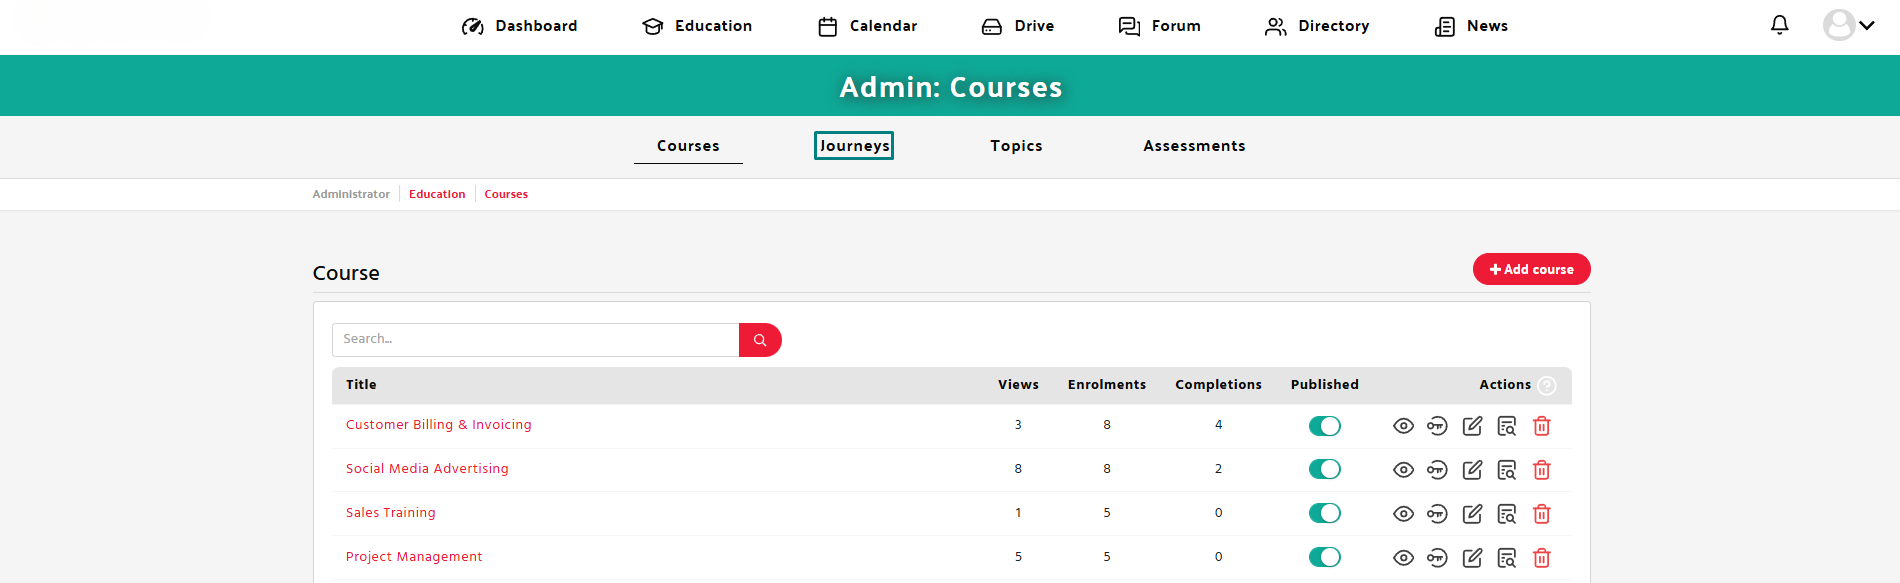
- Click on the Journeys tab in the Admin menu.
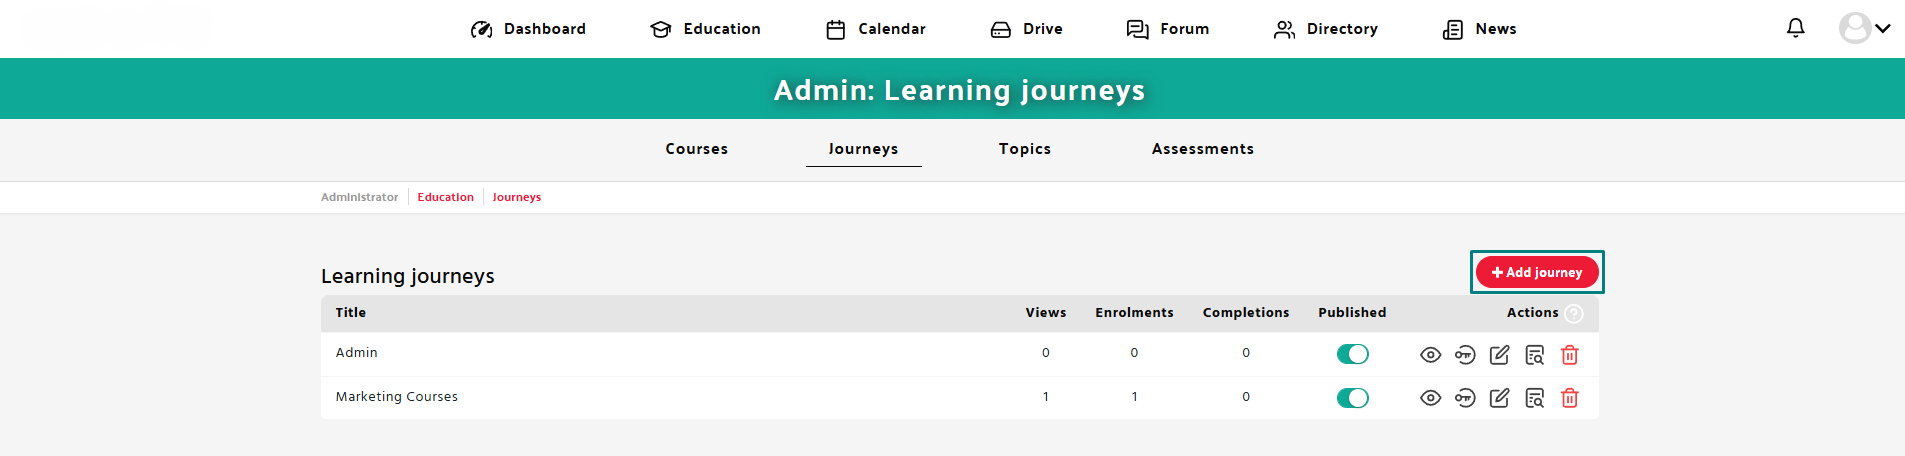
- Click on “Add journey”.
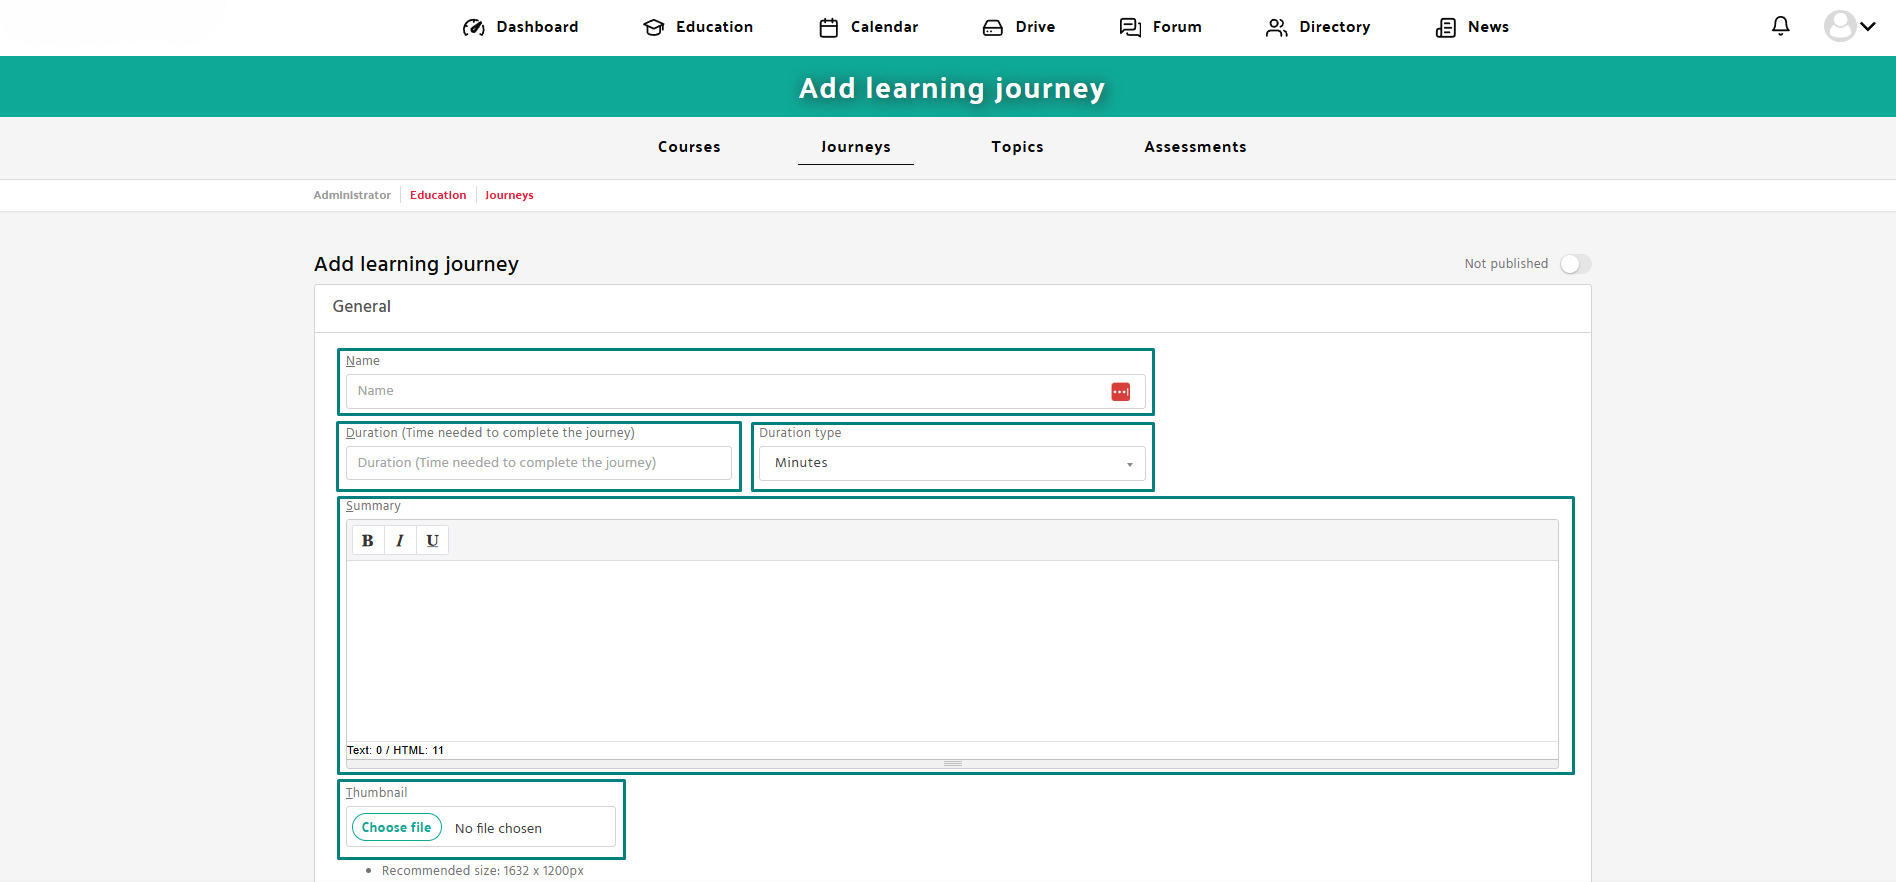
Step 2: Fill in the Required Information
- Enter the name of the journey.
- Fill in the estimated time required to complete the journey.
- Upload a thumbnail (recommended size: 1632 x 1200px, format: SVG or PNG).
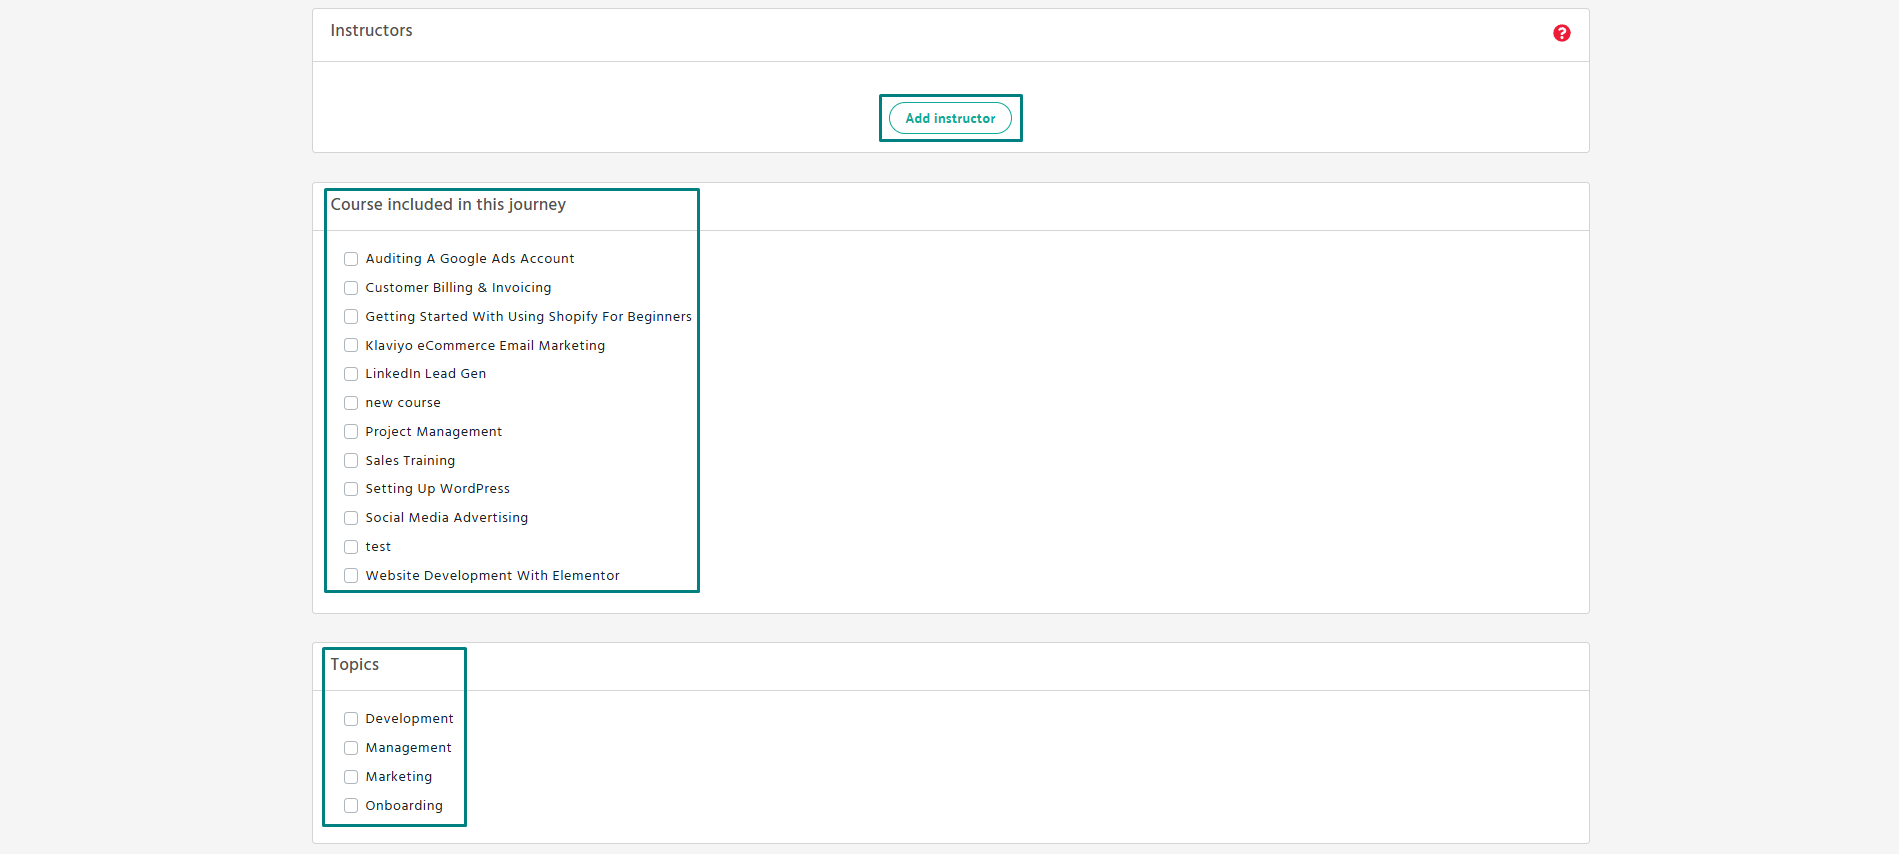
- Click the “Add instructor” button to assign one or more instructors to this journey (optional).
- Under “Courses included in this journey”, check the boxes next to all courses you want to include.
- In the “Topics” section, select one or more categories that best describe the learning journey.
- Provide a brief description of the journey.
- Under the “Completion certificates” section, you can choose one or both of the following:
✅ Award any course level certificates
Learners will automatically receive certificates for individual courses as they complete them during the journey.
✅ Award certificates for the completion of this journey
Learners will get a certificate once they finish the entire journey.

Step 3: Publish and Save
- Toggle the Publish option to make it available to learners.
- Click Save to store the journey.

